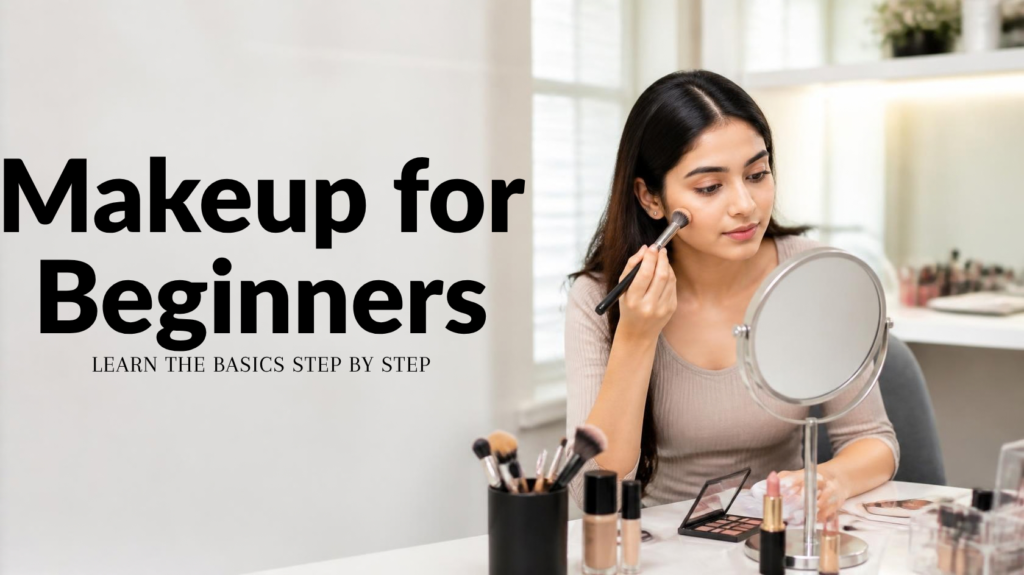
You watched one tutorial, bought eleven products, and your face now looks like it lost a fight with a ring light. Happens to everyone. The fix is a smaller routine. Much smaller.
Get four things right first: prep your skin, match your base, add a little definition, and set only where you need it. Everything fancy can wait.
What you actually need to start
Think in jobs, not products. Something to prep the skin, a base, one or two eye products, something for the cheeks, something for the lips, and brushes or sponges you’ll actually wash. That’s it.
You don’t need contour, false lashes or a 35-shade palette to learn the order. Honestly, most of that stuff just makes it harder to figure out what went wrong.
Here’s why. If you use the same products every time you practise, and the result looks off, you only have a few suspects: how much you used, where you put it, or how well you blended. Add a new product every week and you’re just guessing.
The order to put it on
- Clean, moisturised skin, plus sunscreen if it’s daytime.
- Primer if you need it, then colour correction only where something shows through.
- Foundation and concealer, in thin layers.
- Cream products (cream blush, cream bronzer), then your eye makeup.
- Powder where you need it, then powder blush or bronzer.
- Brows, mascara and lips last. Setting spray at the very end if you use one.
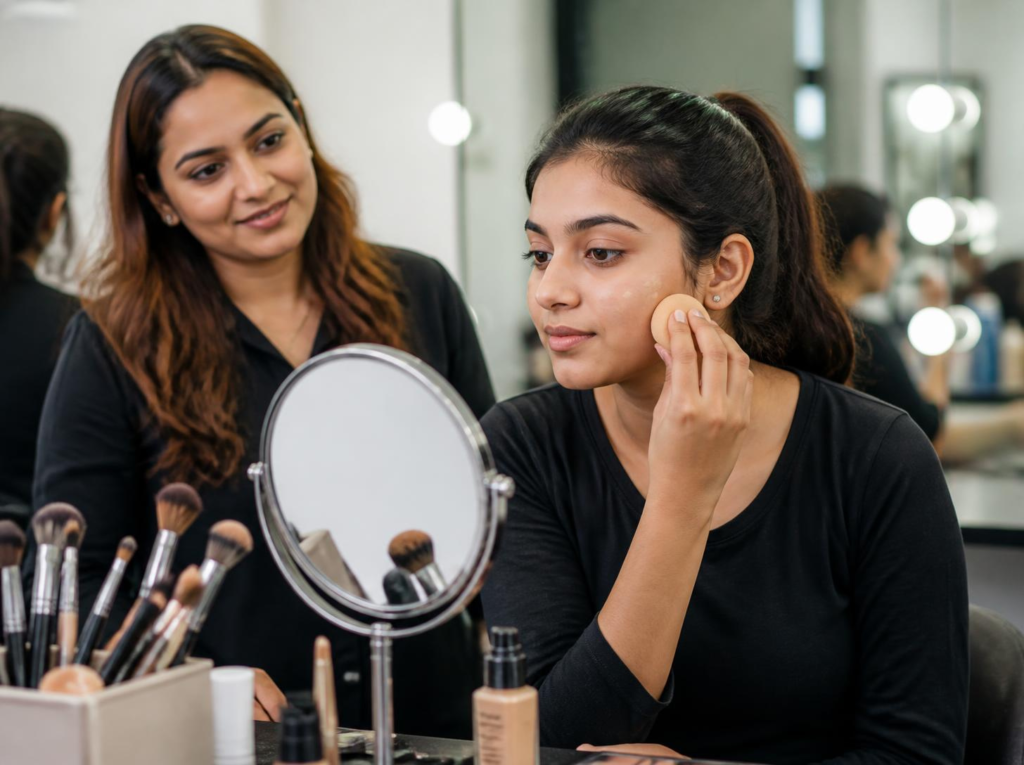
This order bends a little. If you’re doing a dark smoky eye or anything with glitter, do the eyes before foundation. Fallout is way easier to wipe off bare skin than to fix on a finished base. And one rule that doesn’t bend: don’t rub cream products over heavy powder. It goes patchy every single time.
Prep your skin before anything touches it
Start with a clean face and enough moisturiser that the dry bits feel comfortable. Then wait a couple of minutes. Same with sunscreen. Makeup on top of wet skincare slides around and pills, and you’ll blame the foundation when it wasn’t the foundation’s fault.
Primer is optional. Use it if you’ve got a specific problem, like makeup that slips by lunch or texture you want smoothed out. Otherwise skip it. The simpler your prep, the easier it is to work out why your base is misbehaving.
Foundation and concealer: use less than you think
Dot a little foundation only where you want to even things out, then blend outward. Now check your jaw against your neck. If there’s a line, the shade’s wrong or you haven’t blended enough. Also peek at the sides of your nose and around your mouth, because product loves to collect there.
Concealer comes after, and only on the spots foundation didn’t handle. Colour correctors are for real discolouration that a light layer won’t cover. If your base already looks even, stop. You don’t get points for using everything in the kit.
Eyes and brows without the drama
Pick one light or medium neutral shadow for the lid. Keep your darkest shade tight to the lash line or the outer corner, and blend just the edges. That’s a full eye look, and it looks good on almost everyone.
For brows, fill the gaps you can see. Don’t draw a brand new brow. Then do mascara last, once the lashes are separated and there’s no shadow dust sitting under your eyes.
Leave glitter, cut creases and heavy winged liner for later. And if your two eyes don’t match perfectly, relax. Nobody’s do. Aim for balanced, not mirror image.
Blush vs bronzer vs contour
People mix these up constantly, so quickly: blush adds colour, bronzer adds warmth, and contour fakes a shadow. Different jobs. Where you put them should follow your face and the look you’re going for, not whatever face map went viral this month.
Use tiny amounts and check from the front, the side, and in a photo. Over-contouring is hard to undo once the powder’s layered on, while a soft wash of colour is easy to build up. If you want a natural look, lean on blush and skip the sharp lines entirely.
An easy lip to start with
Pick a shade you’d happily reapply at a restaurant table without a mirror. Start in the centre and work out, then check the edges before adding more. Lip liner helps with shape, but it’s not required.
Save the deep berries and bright reds for when you’re comfortable. Those shades show every wobbly edge.
The mistakes almost every beginner makes
Buying more before learning what you have. The new palette won’t fix the blending.
Matching foundation on your hand. Your hand isn’t your face. Test on the jaw and compare it to your neck.
Putting coverage everywhere when only a few spots needed it. That’s how you get the cakey look.
Blending dark shadow so far that the shape you wanted just vanishes into a vague bruise.
Checking only in a magnifying mirror, two inches from your face. Nobody sees you from there. Step back.
The fix for all of these is the same: work on one thing per attempt. If you’re practising a clean base this week, don’t try a new eye technique at the same time. Take a photo in normal daylight each time so you’ve got something real to compare against.
Where to go from here
Match your shade, keep your tools clean, and go thin with every layer. Then repeat the same routine until it feels boring, and change one thing at a time from there. That’s genuinely how the pros got good.
If you’d like someone to watch you work through the full sequence and fix things in real time, Second Skin Academy’s Makeup Artist course is built for exactly that. Explore Makeup Artist training
No. Learn a small routine first. Add something new only when you know exactly what problem it solves.
It can, especially with dark shades or glitter. Cleaning up fallout is much easier before your base is on.